
Learn To Homebrew Day Reflections: Homebrewing Session IPA Made With Riverbend Malt
The homebrewing equipment: cleaned.
The grain: spent.
The beer: consumed.
If you can believe it, it’s already been three months since our craft malt (home)brew day and Instagram live. Terminal gravity was achieved in less than ten days, and following a brief cold crash, keg transfer, and carbonation period, our hazy session IPA was ready for drinking.
And I’m here to report that despite high expectations, our hazy session IPA turned out to be even better than anticipated.
Tasting Notes
Tasting a Hazy Session IPA brewed with craft malt can offer some unique characteristics compared to a regular Hazy IPA. If you’re new here, craft malt refers to malt produced by smaller, artisanal malt houses, which can result in more complex and nuanced flavors.
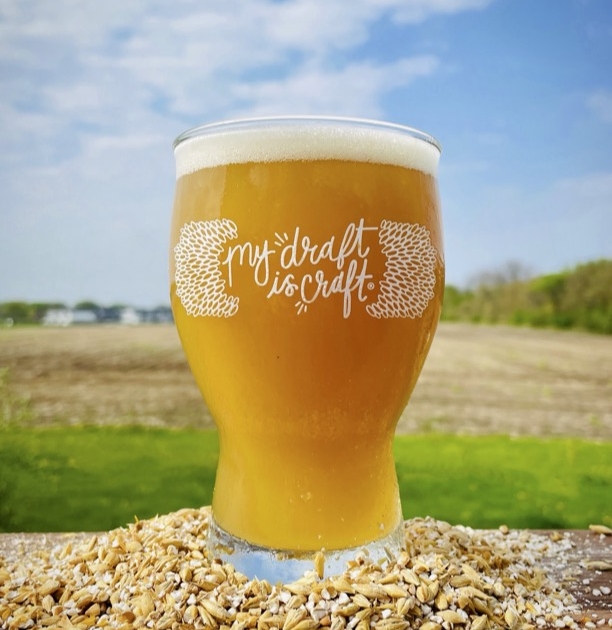
Appearance:
Similar to a standard Hazy IPA, our session homebrew displayed a cloudy and hazy appearance, resembling freshly squeezed orange juice or grapefruit juice. One thing I noticed is that there was a slightly deeper and richer hue compared to other Hazy IPAs I’ve brewed in the past using more standard malts.
Aroma:
This was my first time using Galaxy and Idaho 7 hops, and thanks to a generous dry hop schedule, I immediately noticed huge pineapple and berry aromas from the very first pour.
Taste:
The Riverbend malt introduced flavors like toasted bread, caramel, and honey. I immediately noticed a discernable malt presence cutting through the massive hop flavors. This created a more balanced and rounded tasting experience.
Mouthfeel:
I was surprised by a fuller and silkier mouthfeel that I had anticipated, adding to the “pillowy” and smooth texture typical of Hazy IPAs. I attributed the increased body from the craft malt used, which in my opinion enhanced the overall mouthfeel, making it feel more substantial on the palate.
Finish:
The finish might be longer and more lingering due to the additional malt complexity. The craft malt left a subtle sweetness that contrasts nicely with the fruity hop flavors, leading to a pleasant and balanced aftertaste.
 Tips from the Maltster
 Tips from the Maltster
Riverbend malt comes in a variety of types, including base malts, specialty malts, and roasted malts, similar to the large malt producers you are familiar with. Base malts provide the primary source of fermentable sugars, while specialty and roasted malts contribute specific flavors, colors, and aromas. Choosing malt styles that complement the beer style you’re homebrewing requires a knowledge of the specific offerings of each craft maltster.
Thanks to my friends at RadCraft, I was able to work directly with the craft maltsters at Riverbend Malt when I was building my recipe. Starting with the basic idea of brewing a session hazy IPA, we worked out which specific craft malts to use to achieve the desired flavors. While base malts like the Riverbend Basecamp Pale Malt were familiar to me, others like Great Chit were less so. With the help of the Riverbend team, I was able to learn the similarities and nuances of these small batch grains. (For those that are curious, Great Chit is similar to Carafoam or Carapils dextrin malts, both of which add body and foam retention to the brew without compromising color or flavor.)
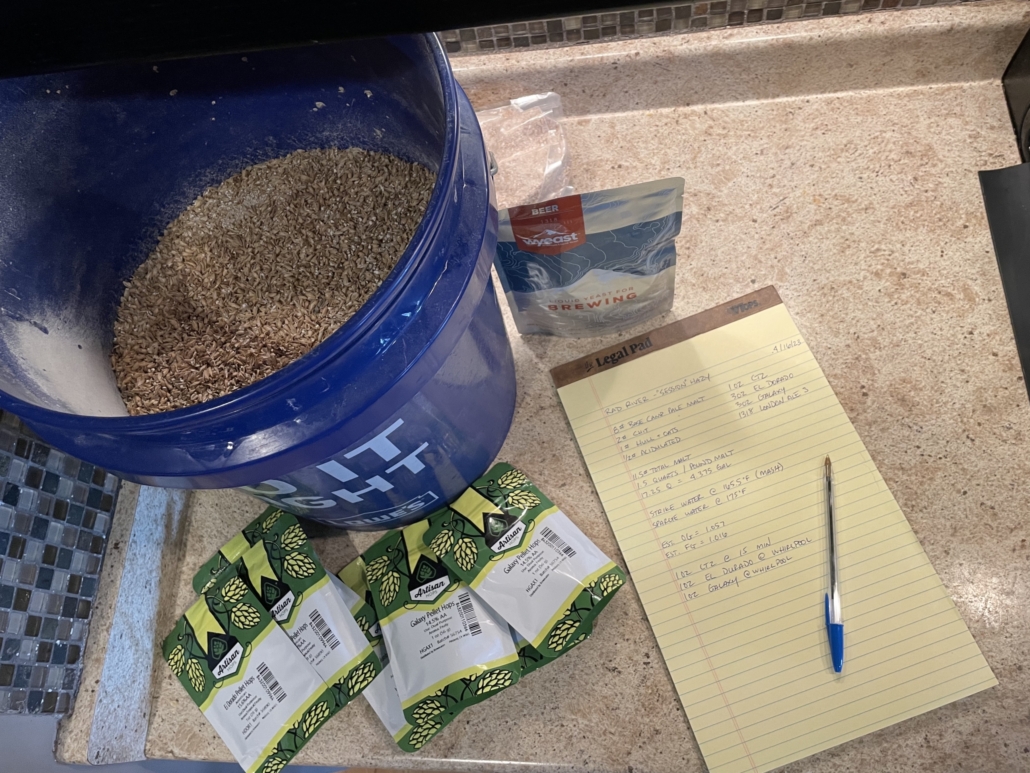
Homebrewing checklist with malt
A Homebrewing Recipe for Summer Sipping: Rad River Session Hazy IPA
Below is the 5-gallon recipe I used for homebrewing our session hazy IPA. This brew has been perfect for summer sipping; busting with tons of malt character and hop aromas to keep you coming back for more, while remaining light enough on alcohol for enjoying all evening long.
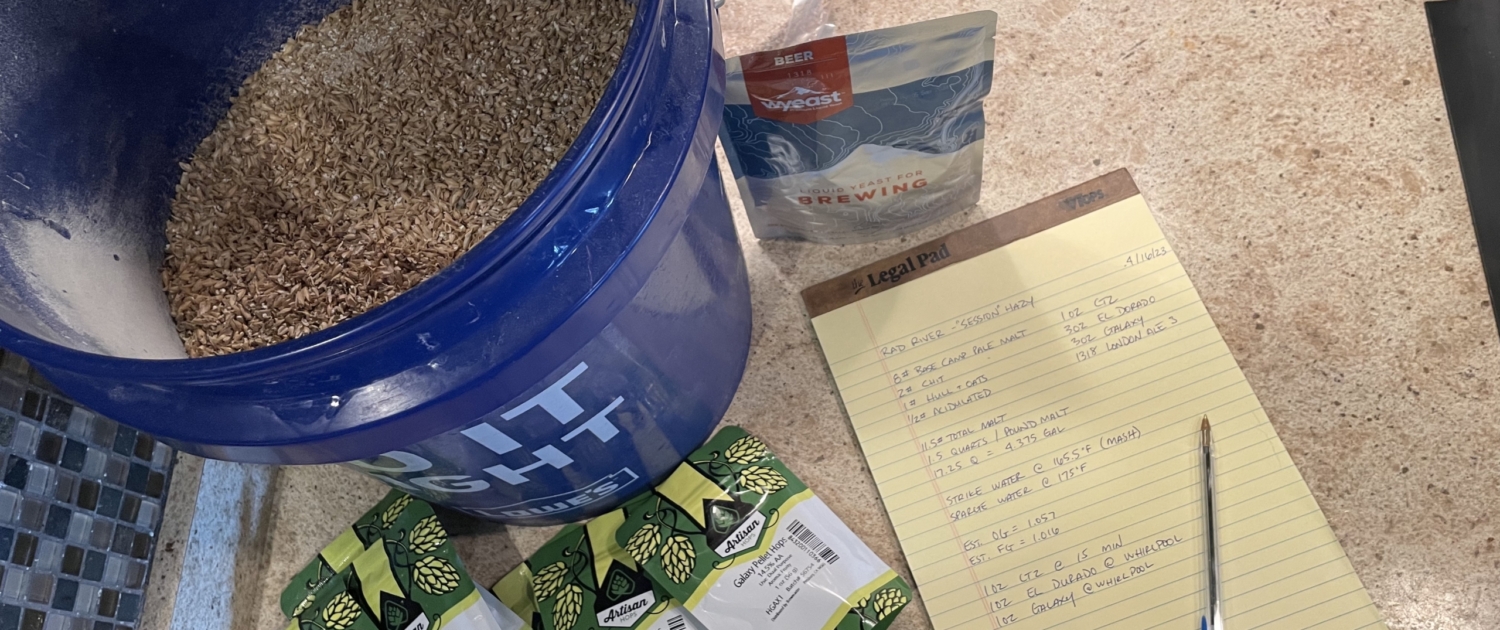
Ingredients:
- 8 lbs. of Riverbend Base Camp Pale Malt, milled
- 2 lbs. of Riverbend Great Chit, milled
- 1 lb. of Riverbend Hull & Oats
- 0.5 lb. of acidulated malt (optional, for pH adjustment)
- 0.5 oz. of Columbus Hops @ 10 minutes
- 1 oz of Galaxy Hops @ Whirlpool
- 1 oz of Idaho 7 Hops @ Whirlpool
- 3 oz. of Galaxy Hops, 2-3 days post fermentation
- 3 oz. of Idaho 7 Hops, 2-3 days post fermentation
 Instructions:
Heat your strike water and mash in at 1.5 quarts per pound, targeting a mash temperature of 152°F for one hour. Vorlauf the wort by slowly recirculating and then begin the sparge process by slowly adding heated strike water to rinse the grains. Collect enough sparge water to reach your desired boil volume of roughly 6.5 gallons. Boil for 60 minutes, following the hop addition schedule as described above. After a 20-minute whirlpool, chill the wort, transfer to your sanitized vessel, pitch with your desired yeast (for this brew I used Wyeast London Ale III), and ferment for approximately 7-10 days, or until terminal gravity is reached. Package, chill, and enjoy!
And for those curious, the name Rad River comes from the awesome folks at RadCraft Co-op and Riverbend Malt House that made this brew possible!
When it comes to the brewing and boiling, using a craft malt is no different than using malt from larger producers. No adjustments were made to my system and my efficiencies remained nearly the same as any other standard brew day. My mashing, sparging, boiling, and hopping schedules remained identical to any other brew.
Brewing with craft malt can add unique flavors and characteristics to your beer, enhancing the overall homebrewing experience. The best way to learn about the effects of craft malt on your beer is through experimentation and experience. Enjoy the journey of discovering new flavors and creating distinctive brews with craft malt, and cheers to making great beers!

